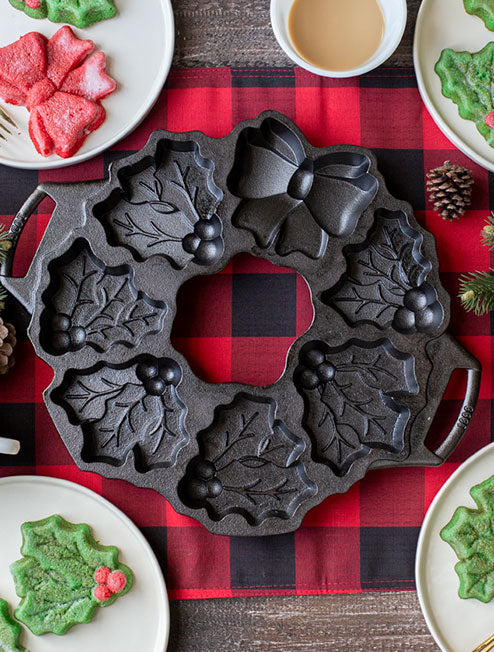
E-mail this page Share on Facebook Share on Pinterest Share on Twitter Print this page Vanilla Wreath Cake Lodge Cast Iron | October 1, 2020 Make your holiday cake dreams come true with this festive recipe using our Holiday Wreath Pan. The delicious vanilla cakelets are made extra moist with the glaze you pour over them. Add a touch of food coloring and this wreath cake quickly becomes the perfect centerpiece. Level Beginner Prep Time 10 minutes Cook Time 30 minutes Serves 7 Cook it With Our Holiday Wreath Pan Ingredients Batter ¾ cup all-purpose flour 1 teaspoon baking powder ¼ teaspoon baking soda ¼ teaspoon salt ¼ cup unsalted butter, room temperature ¼ cup sugar 1 egg ¾ cup buttermilk 1 teaspoon vanilla extract Glaze 1 tablespoon unsalted butter, melted 1 cup powdered sugar 1 teaspoon vanilla extract 4-6 tablespoons milk Directions Batter Preheat oven to 350 degrees F. Whisk flour, baking powder, and salt in a bowl. Set aside. Beat butter and sugar in a separate bowl until creamed. Lower the speed and add the egg. Beat until combined, then add the buttermilk and vanilla. Next, add the flour mixture and beat until the batter comes together. Spray the Holiday Wreath Pan with Baker’s Joy and divide the batter to fill the wells ¾ full. Bake until the cakelets begin to brown on top and a toothpick comes out clean, about 30 minutes. Let cool 10 minutes before turning them out. Glaze Let the cakelets cool completely before icing. Combine powdered sugar, melted butter, 4 tablespoons of milk, and vanilla extract. Stir together until incorporated. If needed, add milk 1 tablespoon at a time until desired thin glaze consistency is reached.* Dip cakelets in the icing and place on a wire rack with parchment paper under the rack. Bonus: How to achieve a festive look Place 5 tablespoons of cake batter in a small bowl. Add 2-3 drops of red gel food coloring to the batter and stir until the color is unified. With the remaining batter, add 3-4 drops of green food coloring and stir until the color is unified. Pipe the red batter into the wells of the berries. Be careful not to over-fill the berries. Fill the bow with the remaining red batter. Carefully fill the holly leaves with green batter. Pro Tips: Sift powdered sugar to avoid lumps. Feel free to use other extracts–peppermint extract, for example, is festive. Orange, almond, and lemon would be great too! For the wreath cakelets, you want the glaze to be pretty thin so the beautiful holly leaf detail comes through. Unused glaze is safe at room temp for 2-3 days. To color the glaze, divide the glaze into bowls for each color needed. Start with one drop of gel food coloring and stir. Then add another if needed. You can always add another drop but you can’t take one back, so add a drop and then stir to see if you reached your desired color. Contributed By: Lodge Cast Iron We hope you enjoy our stories and recipes! Follow us on Instagram, Facebook, and Twitter, and tag your Instagram food photos with #lodgecastiron for a chance to be featured on our feed! Complete Your Kitchen We recommend these must-have products to help with this recipe. How would you rate this recipe? Thanks for rating Submit Recommended recipes you might like Sausage-filled Cheese Rolls View recipe Huevos Rancheros Breakfast Casserole View recipe Brown Sugar Soy Sauce Salmon View recipe